
Hifyre Onboarding Checklist
Welcome to the Hifyre Retail Platform! Please see below for a helpful check-list while getting started with your account and the Hifyre Retail modules.
Your manager will create a direct login for you to the Hifyre Retail Platform (HRP).
Login
Your user name will be your corporate email address, or if you do not have a corporate email a user name will be used. If you are a manger and need to review how this is done please reference the Hifyre Account Creation page.
Once logged in the dashboard will display all modules your account has permission to access. For retail sales associates you may be taken directly into Clienteling for quick access. However you can still access your Dashboard where you also have access to the Help Center.
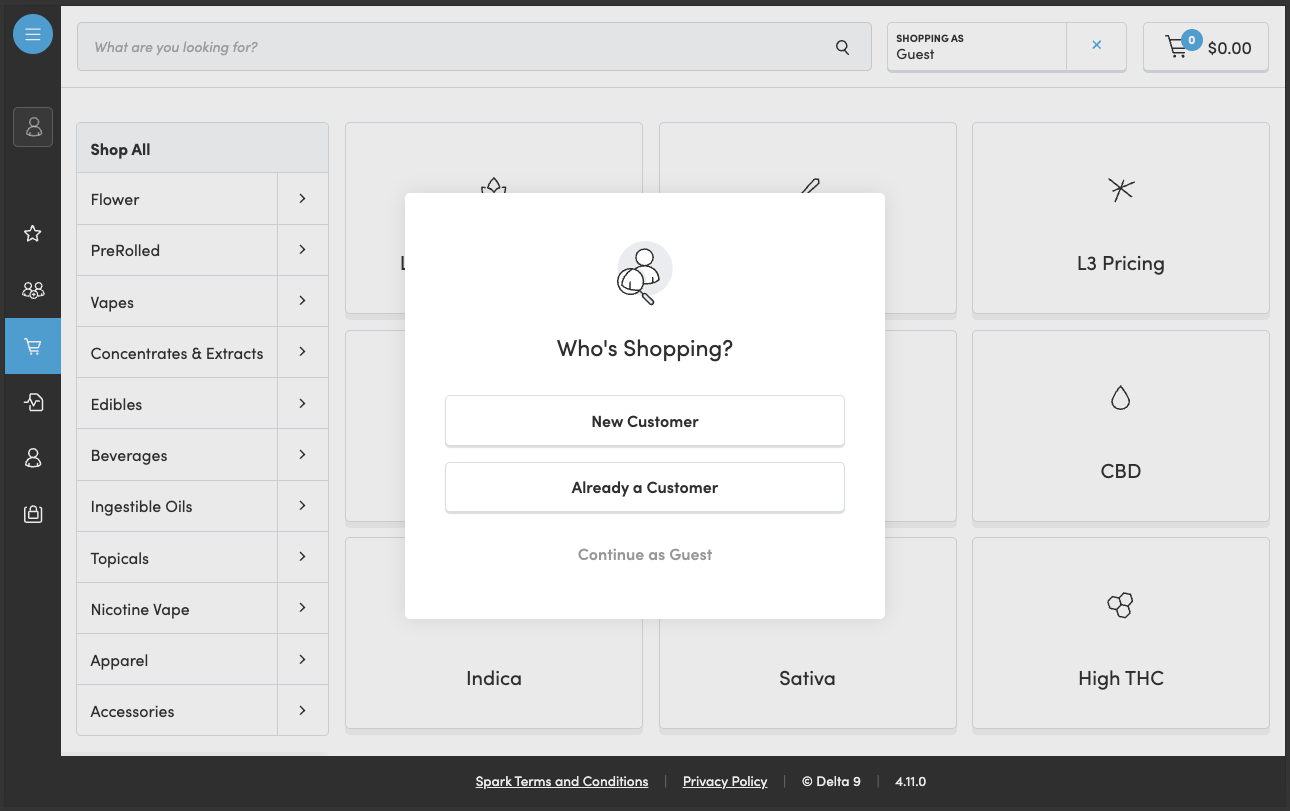
Retail sales associates are immediately brought into Clienteling
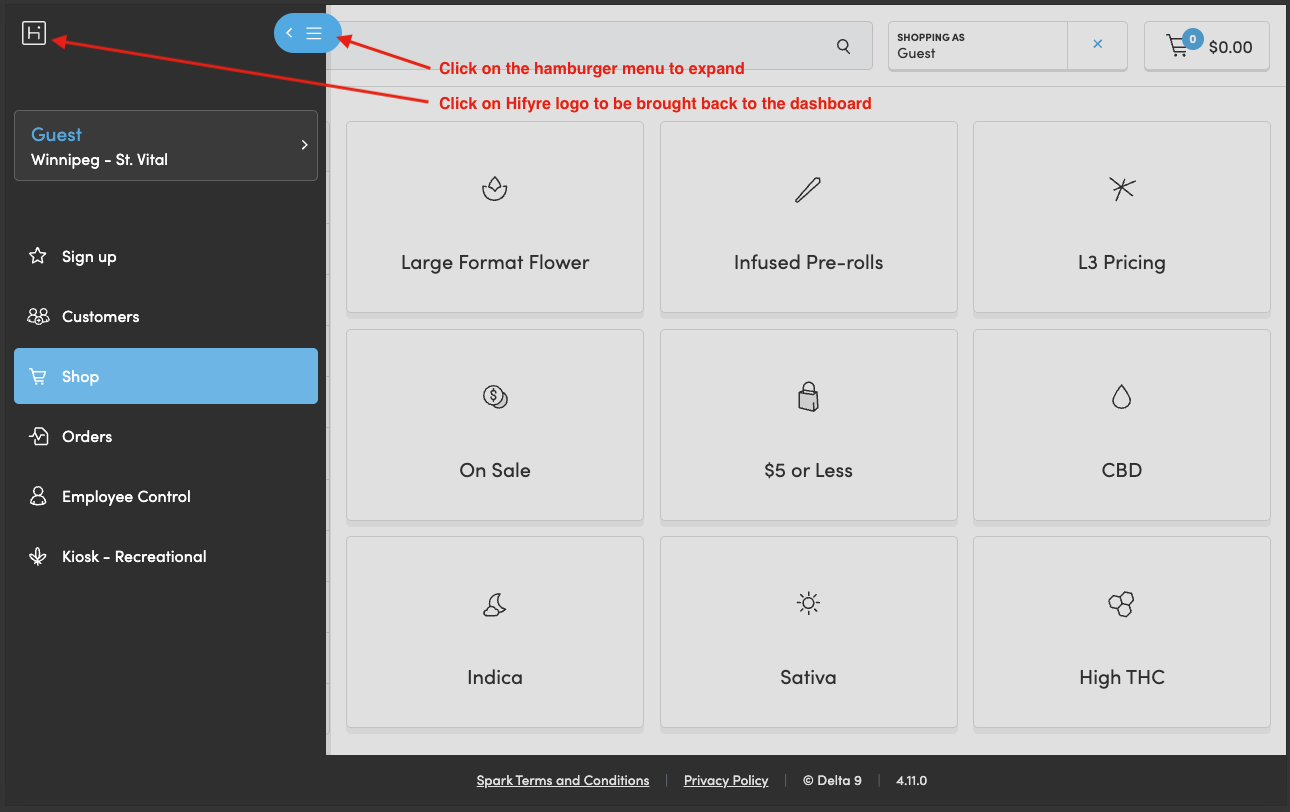
Go back to dashboard by expanding the hamburger menu and clicking on the Hifyre logo

The dashboard is where you can access all modules that you have permissions for.
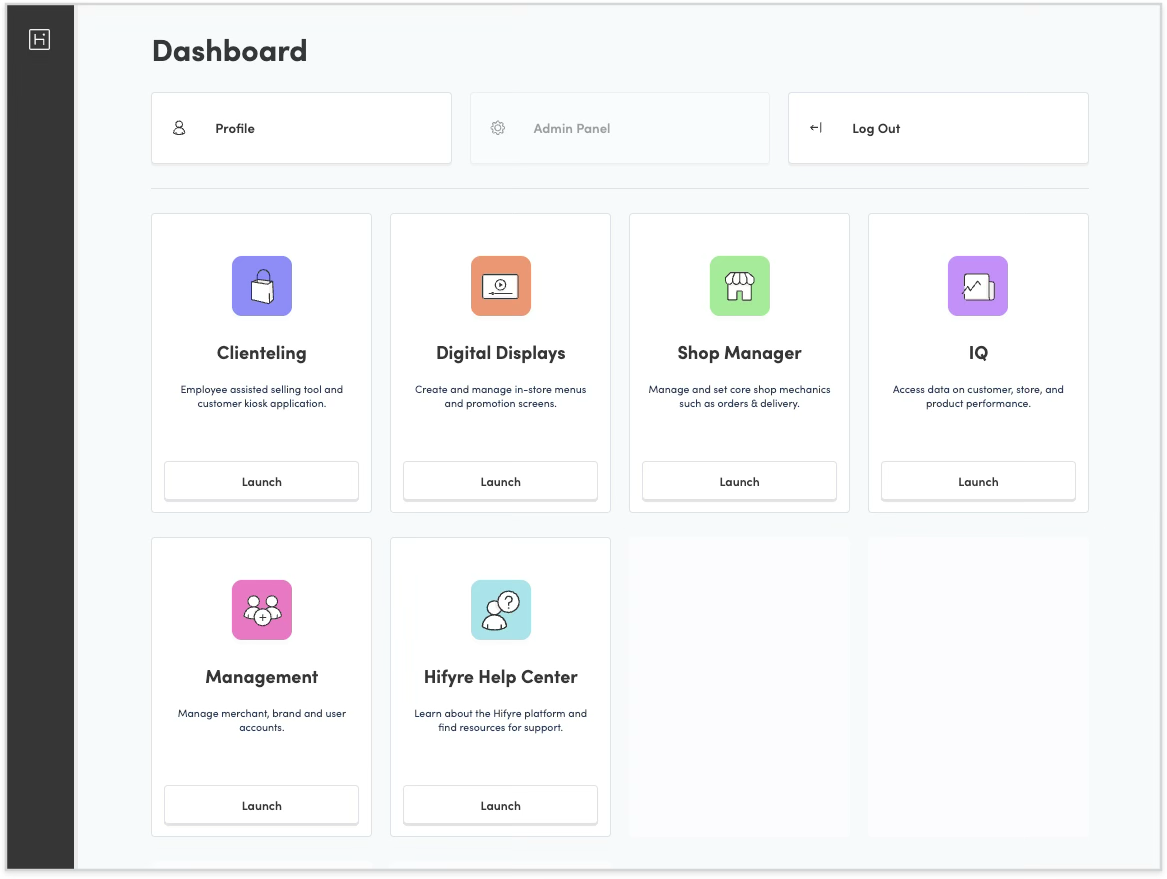
An account with more permissions will see additional modules
Shop Manager, Website Manager, Digital Displays Manager
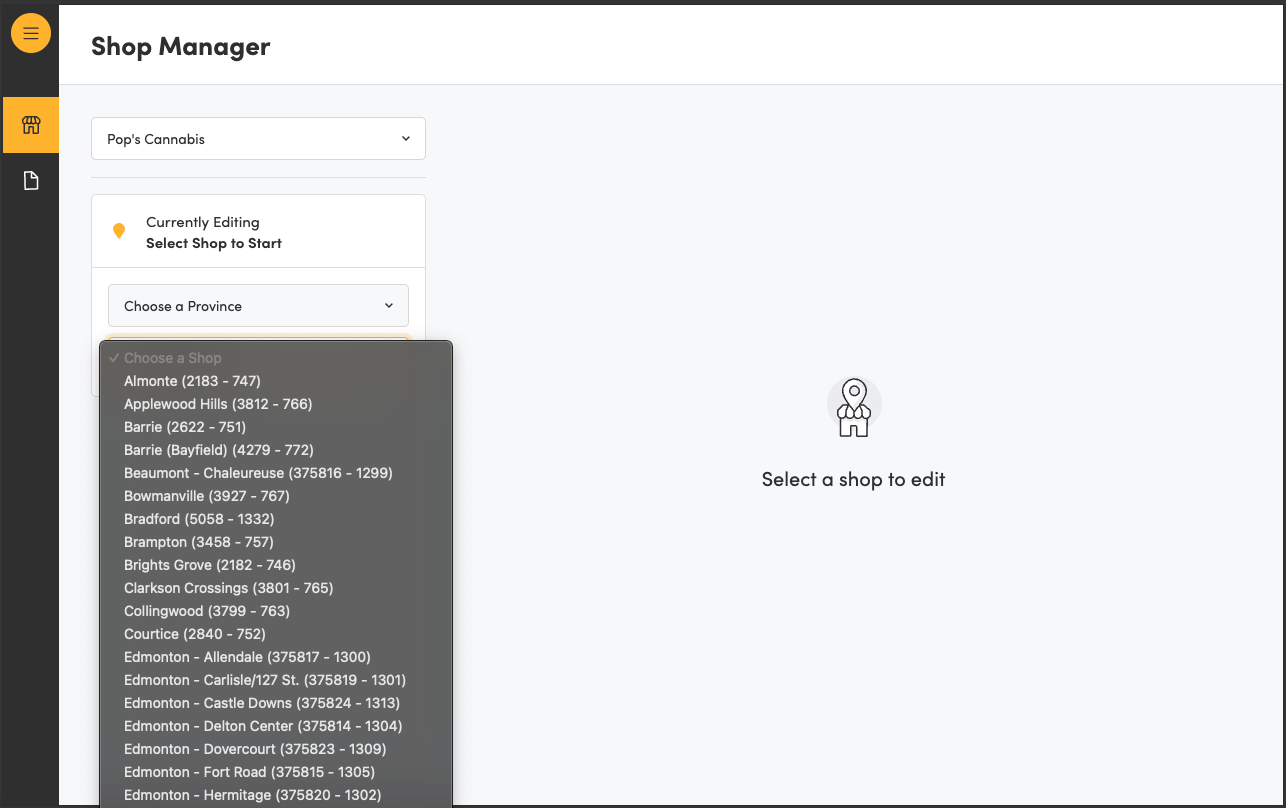
If you are cross banner, first select the banner you wish to view. Then select your location
Getting Started in Clienteling
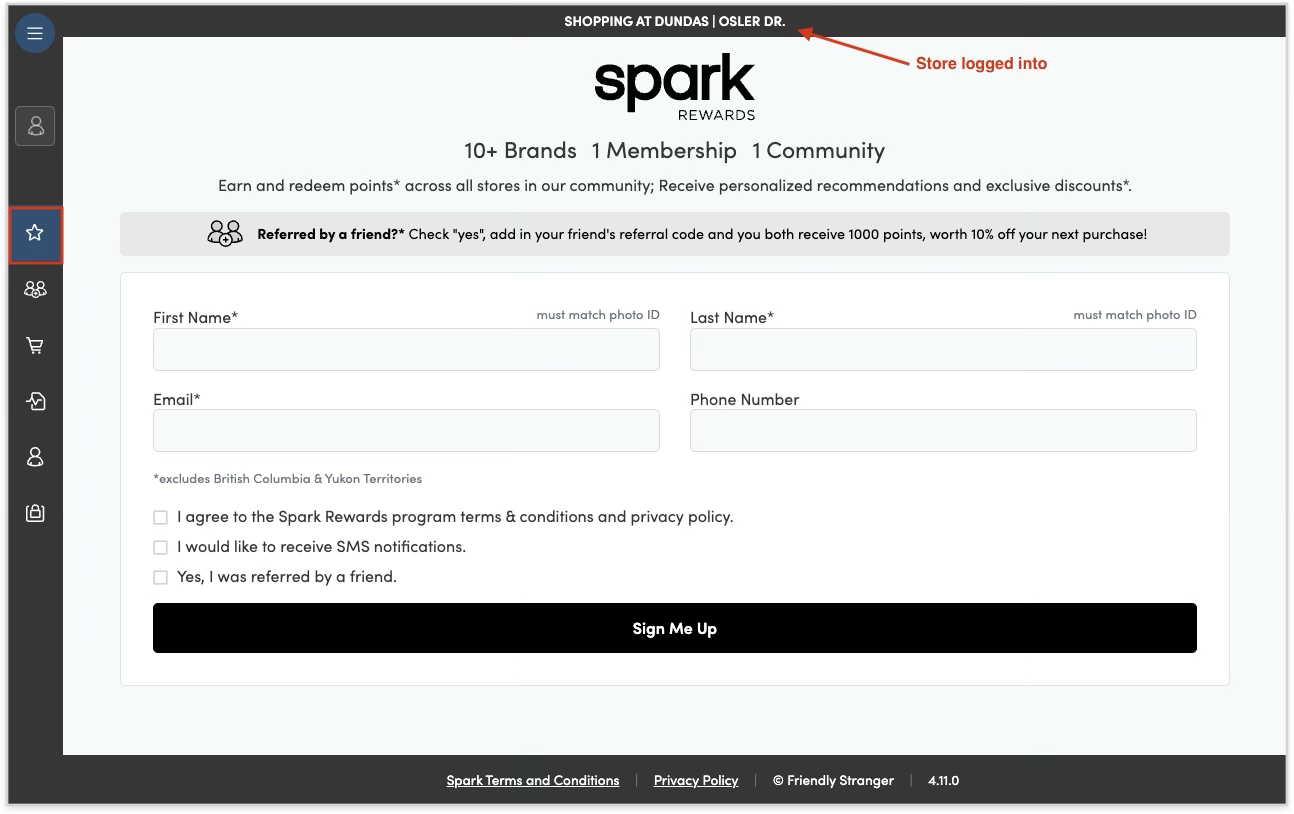
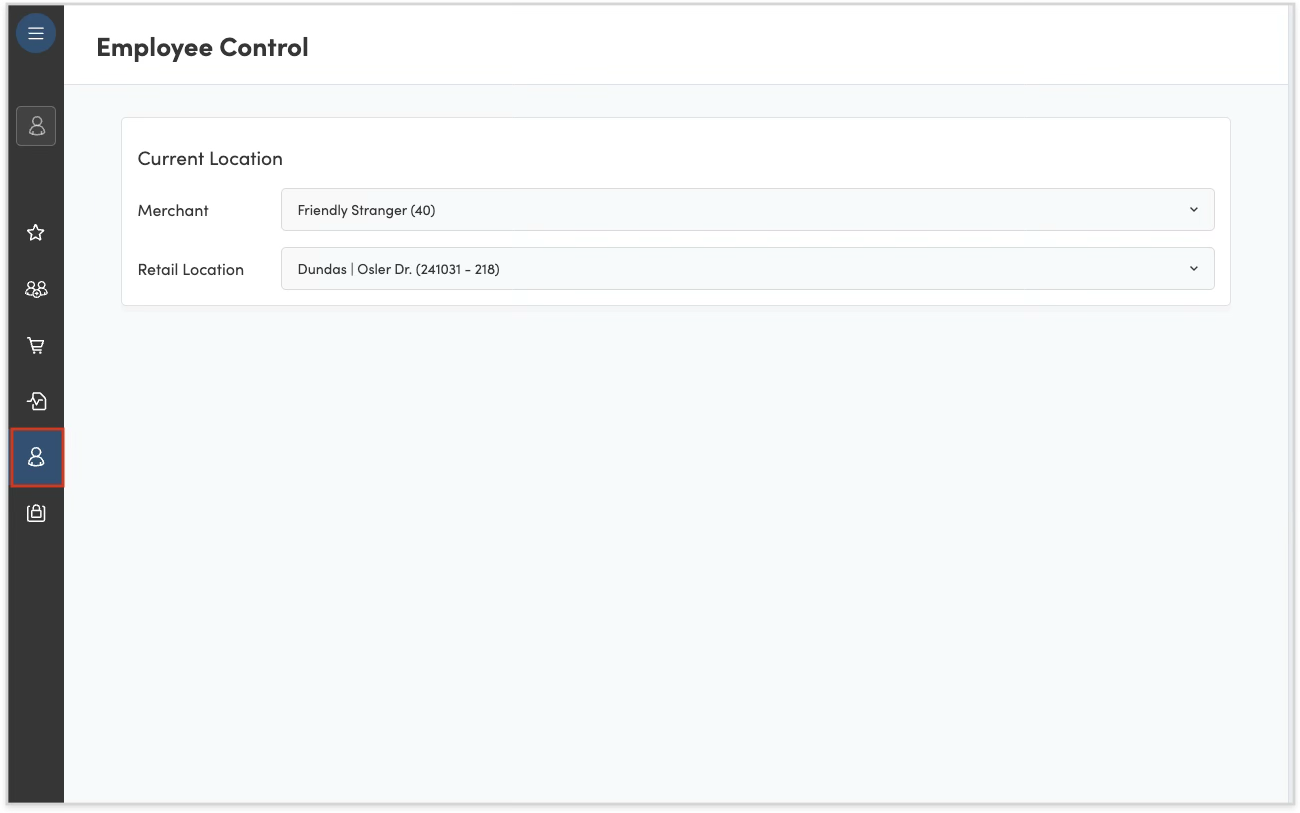
Verify your location. There are 2 ways to do this:
On the Spark Rewards sign up page it indicates at the top which location you are in
From the Nav, select the Employee section. Here you will have access to change your Merchant (if you work cross-banner) and/or location.
If your store is new on the Hifyre Retail Platform then you should do a quick test for product and orders.
Validate a few products in your inventory:
Pricing
Available qty
Confirm appropriate taxes are applied to your location:
Select a product and add it to the cart
Place a test order and verify it appears on your POS.
The Hifyre retail platform relies on product information populated in your inventory management system (IMS). If you see a product that needs to be updated please provide all details in an email to purchasing@fikacompany.ca
Pricing
Name
Weight
Equivalency
Category
Images
Getting Started in Shop Manager
Tool to manage shop setup and details for e-commerce.
Add store details including description and SEO tags, store hours, store location images.
Enable menus, shoppable website, location page, ID verification (in jurisdictions where required).
Select order methods you wish to offer online.
Digital Displays
Tool to manage in-store digital displays (promos & product menus).
Add a screen for each TV/digital device in store.
Launch and capture screen URLs and bookmark on each associated TV/digital device.
Create and upload promotional assets to the media library (1080 x 1920 px).
Set promos and product menus based on available templates and filtering.
Confirm everything displays correctly with your promo and menu screens.
Clienteling
Tool for assisted selling, product knowledge & to encourage SparkPerks sign-ups.
Validate you have the correct store location selected.
Devices set to Kiosk Mode should use Kiosk specific login.
Website Manager
Content management system that allows teams to design and launch branded online dispensaries.
Add brand settings with logos & colour palette.
Upload promo assets to the media library.
Add homepage Hero Banner, Featured Product Ad, & Ad Banner.
Optional: Add shop page ad banner and/or information message.
Optional: cart step and checkout banners with customized messaging and call to action.
Discount Manager
Tool to create and manage discount codes for use in e-commerce and Clienteling.
Create new unique discount codes for customers to start leveraging.
Note: the Welcome and Refer A Friend discount codes are dynamically generated as triggered.
Once your store is live, we recommend testing an order on the website to validate order methods and order messaging.