
Shop Manager Overview
This article will guide you through using the Hifyre Shop Manager, a powerful tool designed to configure and manage the core setup and details of your e-commerce store. With the Shop Manager, you can easily customize various aspects of your online store, from basic information like store hours to controlling its presence on your website.
Getting Started:
Ensure your store is added to your POS system: The Shop Manager works together with your POS system to manage your store's information. Make sure the following store entity details are added to your POS system
Name
Status
Address
Phone Number
Timezone
Access the Shop Manager: Log in to your Hifyre account and navigate to the Shop Manager section.
Customize the settings: Review each function and adjust the settings according to your preferences. Make sure to save your changes to apply them to your online store.
Let's explore the key features and how to configure them!
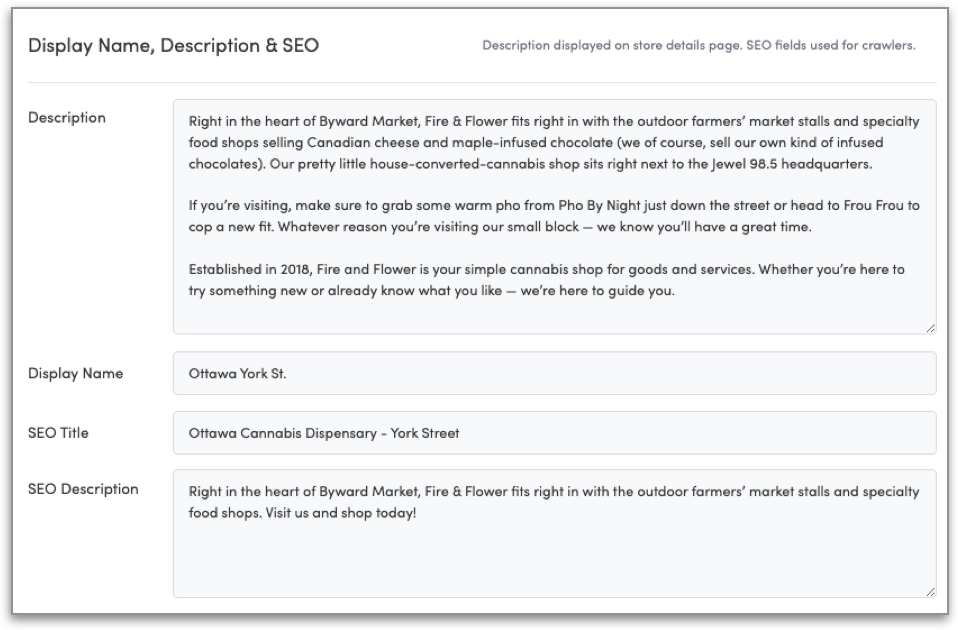
Store Details
This section allows you to add information displayed on the store details page of your website, which will optimize your store for search engines.
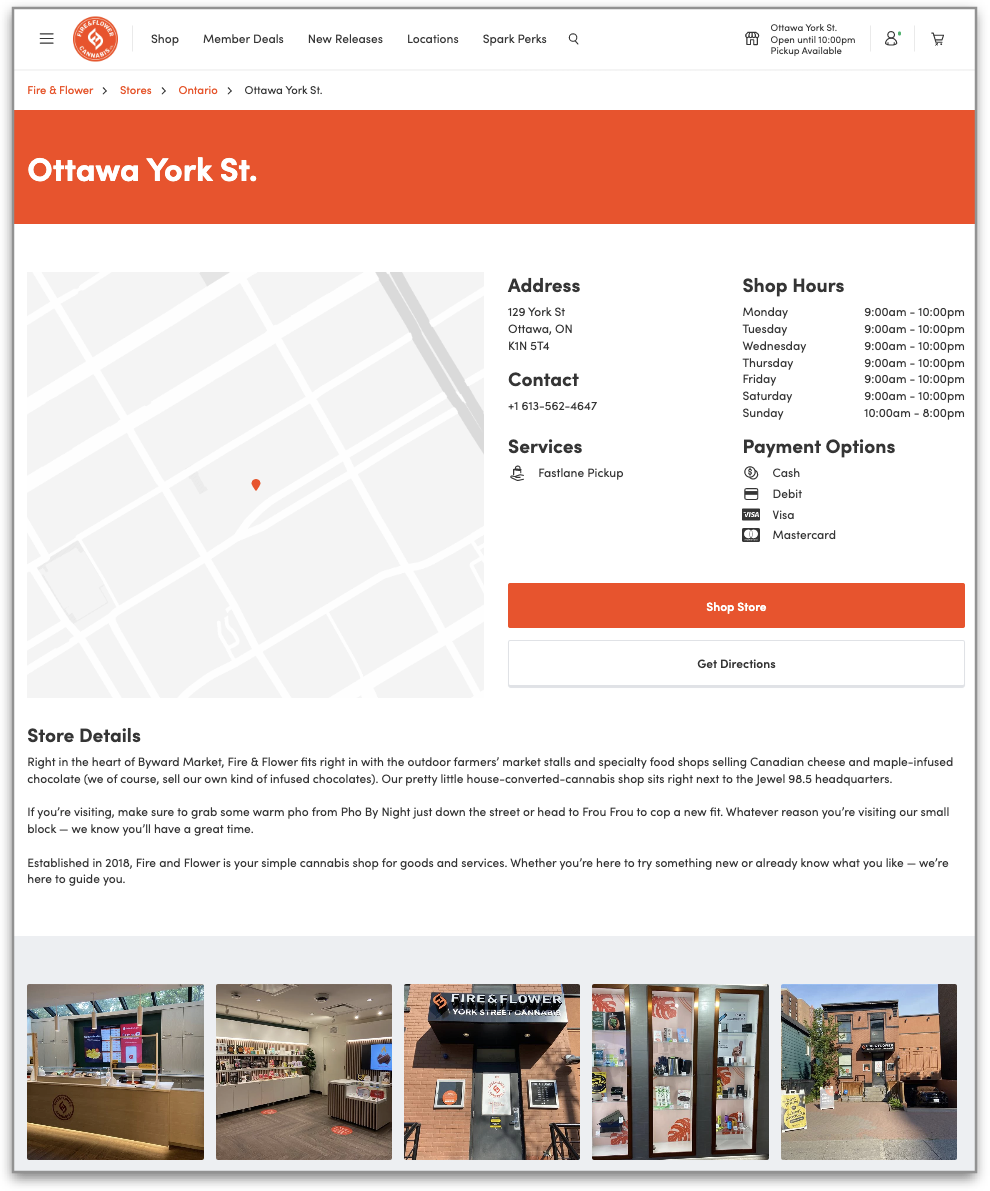
Description: Long-form text that helps improve your store's visibility in search results. Include local information such as cross street names, nearby points of interest, and local events. This is particularly important for users searching for businesses near their location or within a specific city.
Display Name: The name of your store that appears in the store directory and at the top of the store details page.
SEO Title: What search engines display in search results. Keep it short and ideally include the city, street, and relevant cannabis-related keywords. For example: "Hamilton Cannabis Dispensary - King St West". Our system will automatically append the brand name to the end.
SEO Description: Displayed in search results and should consist of maximum two short sentences. Use cannabis-related terms, relevant categories, and local keywords to attract potential customers.
Shop Hours & Holiday Hours: Easily manage your store's operating hours, including special hours for holidays. Keep your customers informed about when your store is open and closed, ensuring a smooth shopping experience.
If you’re using Yext, changes in Shop Manager are synced every hour (during Canadian business hours).
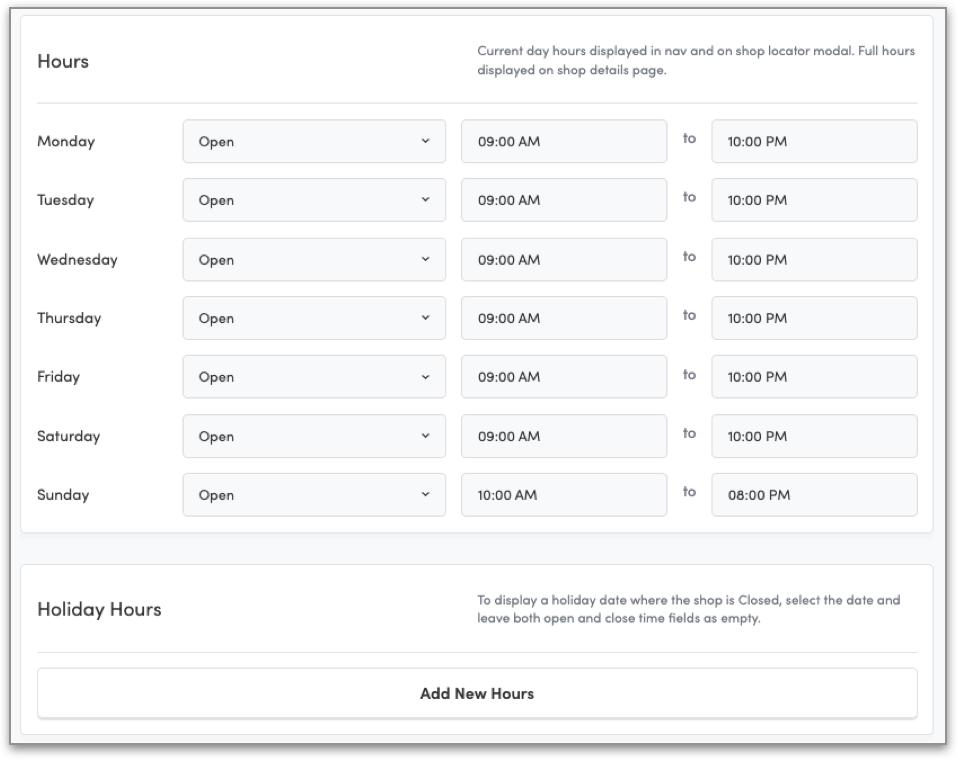
Note: To indicate closure for a holiday, leave time fields empty.
Accepted Payments: This setting only updates the accepted payments displayed on the store details page, and does not adjust which payments are actually available for use online.
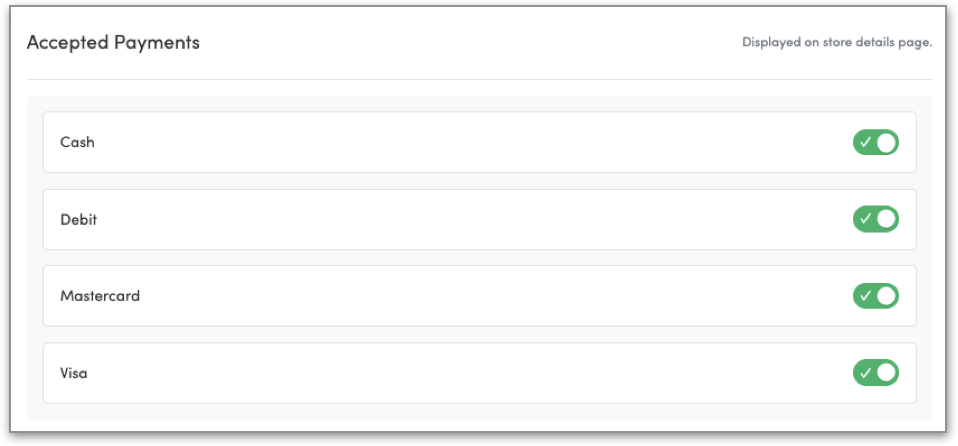
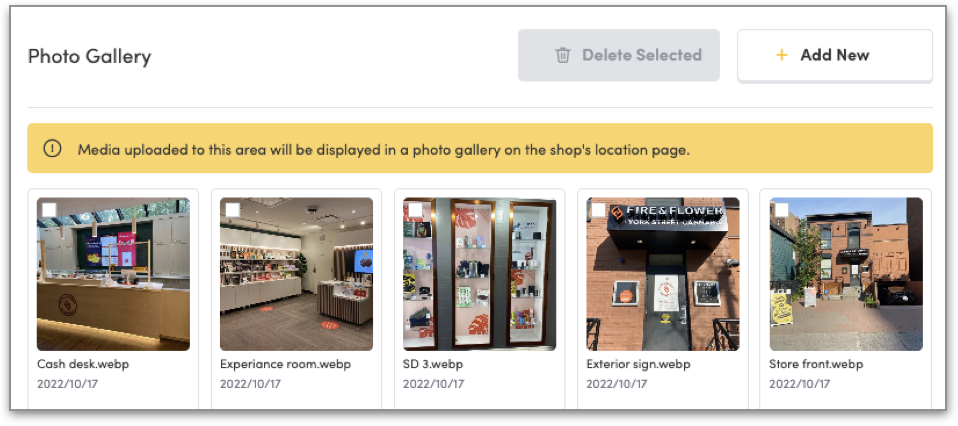
Photo Gallery: Upload interior and exterior store photos that will be visible on the store details page. Photos without people are recommended.
Note: Images should be JPEG or PNG format. Files will be converted to WebP format for optimization.
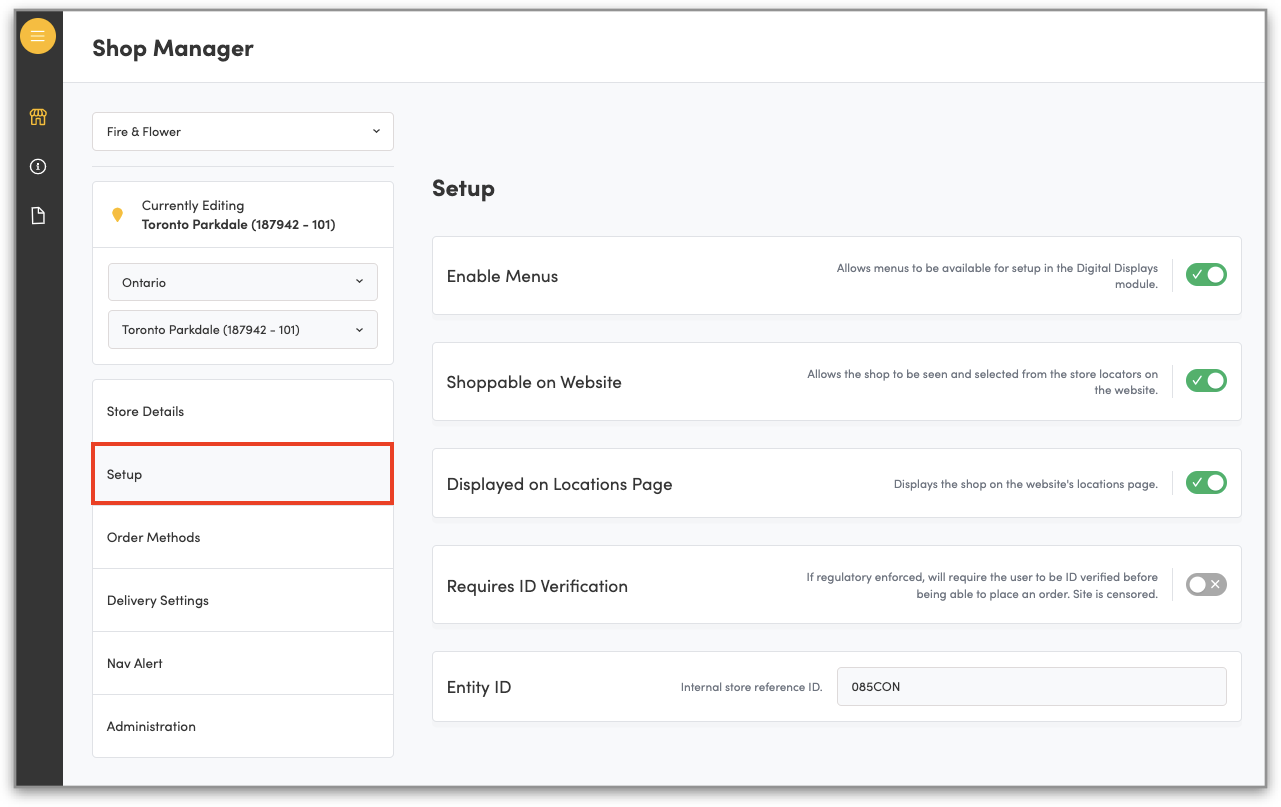
Setup
Enable Menus: enable or disable in-store digital screens. Learn more about how to setup product menus and promos in the Digital Displays Overview.
Shoppable on Website: control whether your online store is visible and accessible on your website.
Displayed on Locations Page: include your store listing on the store directory page. Once enabled, search engines will index this page. It is not recommended to disable this page.
Requires ID Verification: enable if your store is in a jurisdiction that requires a user be age and id verified before they are able to transact online. If customer is not verified, the site will be censored as follows:
Product images are replaced with category icons;
THC and CBD values are masked;
Product descriptions, strains are masked;
Checkout is prohibited until formally verified.
Entity ID: Not displayed on the website anywhere; strictly for your own internal reference.
Order Methods
The Shop Manager offers different order methods to suit your business needs. You can configure options such as delivery, In-store pickup, or both, depending on the services you provide.
In-Store Pickup: Default payment option: Instore only.
Curbside Pickup: Default payment option: Both Instore and Online.
Delivery: default payment option: Online only.
For each order method you can set a specific message to be displayed at checkout and/or on their order confirmation page.
To change the available payment options please speak with your Hifyre representative.
Delivery Settings
Manage the delivery parameters set up for your store.
Flat Fee: This is the set cost for each delivery.
Available After Minimum Spend: This is the minimum dollar amount (before taxes and delivery fee) the customer must have added to cart before delivery is shown as an option.
Postal Codes: Once the delivery zone has been established, generate a CSV list of postal codes to upload. This list will be used to verify the customer has access to delivery in the specified radius.
Please reach out to your Hifyre representative to help verify all delivery parameters. Settings are enabled in collaboration with Pineapple Delivery.
Nav Alert
Update site-wide navigation alert that appears at the top of the eComm site for individual shops.
Body: Text that will appear at the top of your online shop site-wide.
Button Text: In enabling an Action, this will allow customer
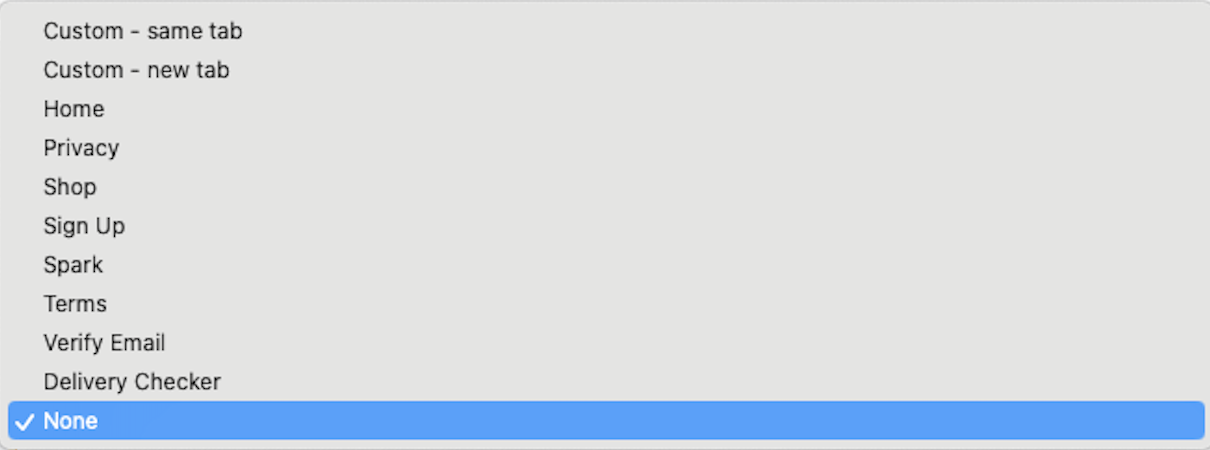
Action: Various actions can be added to target that direct users to set pages or custom URLs.
Start & End date: Schedule nav alert to display for a specified time frame.
.png?inst-v=63e1ffb4-51e0-485e-9e0c-3c4e4f306b32)
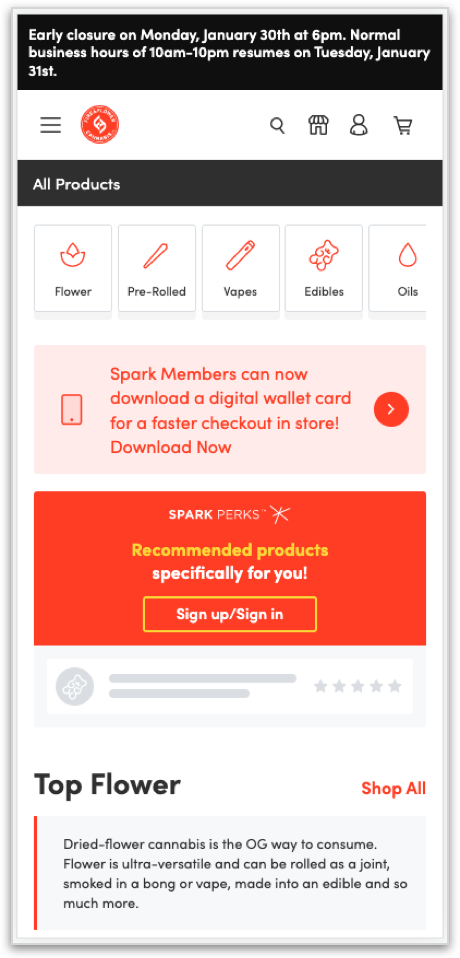
Nav Alert view on Mobile:
Administration
This section allows users to run a manual pricing sync or inventory sync for a specific shop if a product price or quantity is out of sync. This functionality is intended for ad-hoc pricing changes, as most pricing changes happen in a structured and timely manner.
If you do not see the discrepancy resolved after 3 hours, please submit a ticket to your IT support desk.